Update 7/25/21: AirForce TalonP, Condor, and Texan Accessories

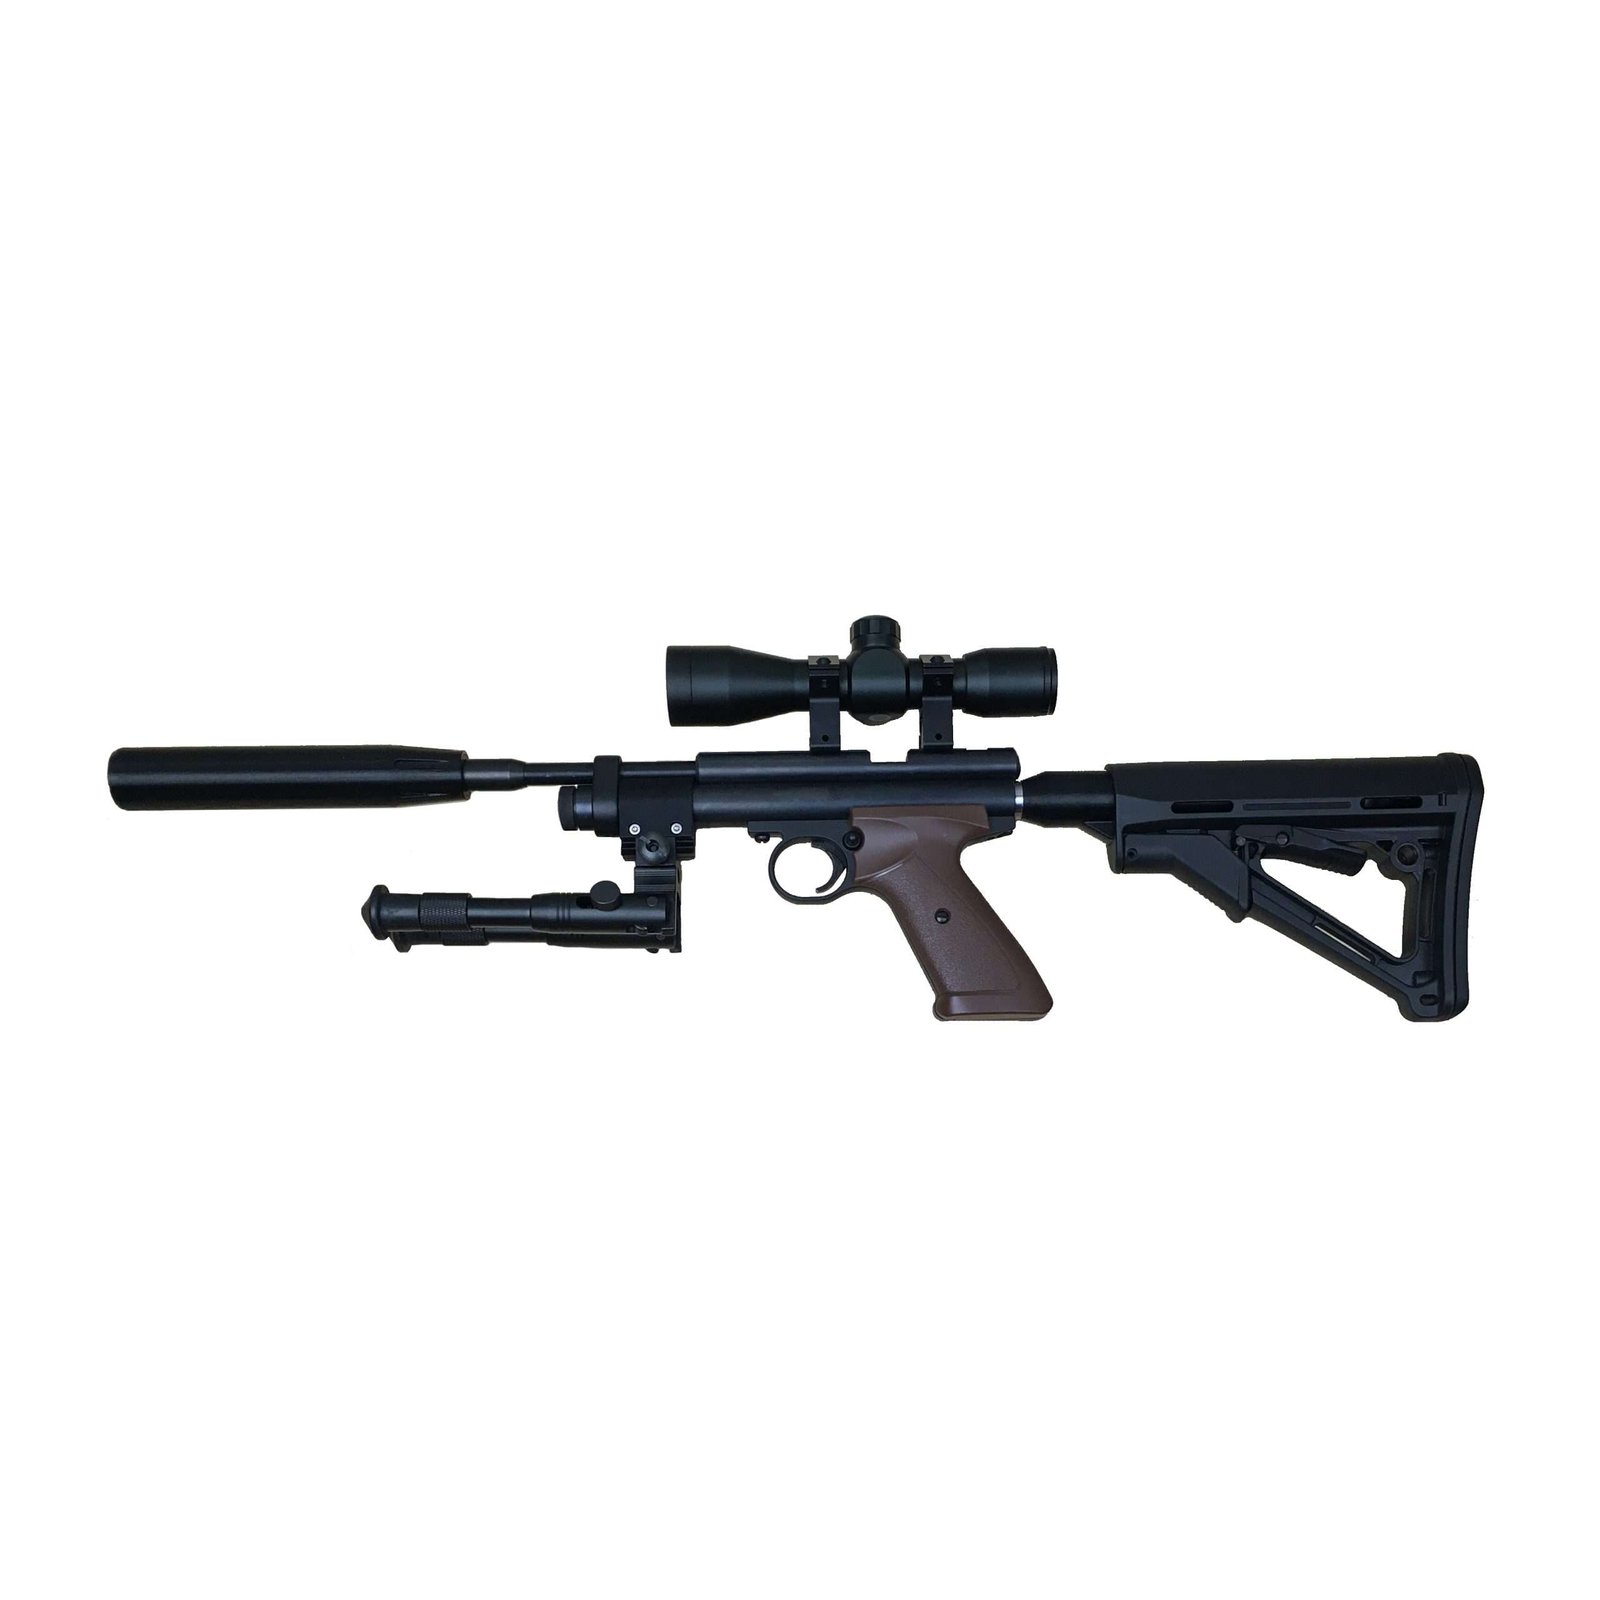
I’ve been working on this for a while now and have finally come up with a few things I can feel good about. Some of the parts include a more ergonomic pistol grip, thicker forearm with picatinny rail, and a sleek adjustable buttstock. These should be compatible with the other Airforce PCP airguns of this platform.
The Adjustable Buttstock


The adjustable buttstock slips over the aluminum air cylinder. It is held in place by two steel non-marring nylon tipped set screws. It give you from a 10-1/2″ to 14″ LOP. It is printed in two parts and bolted together with two stainless socket head cap screws and nuts.
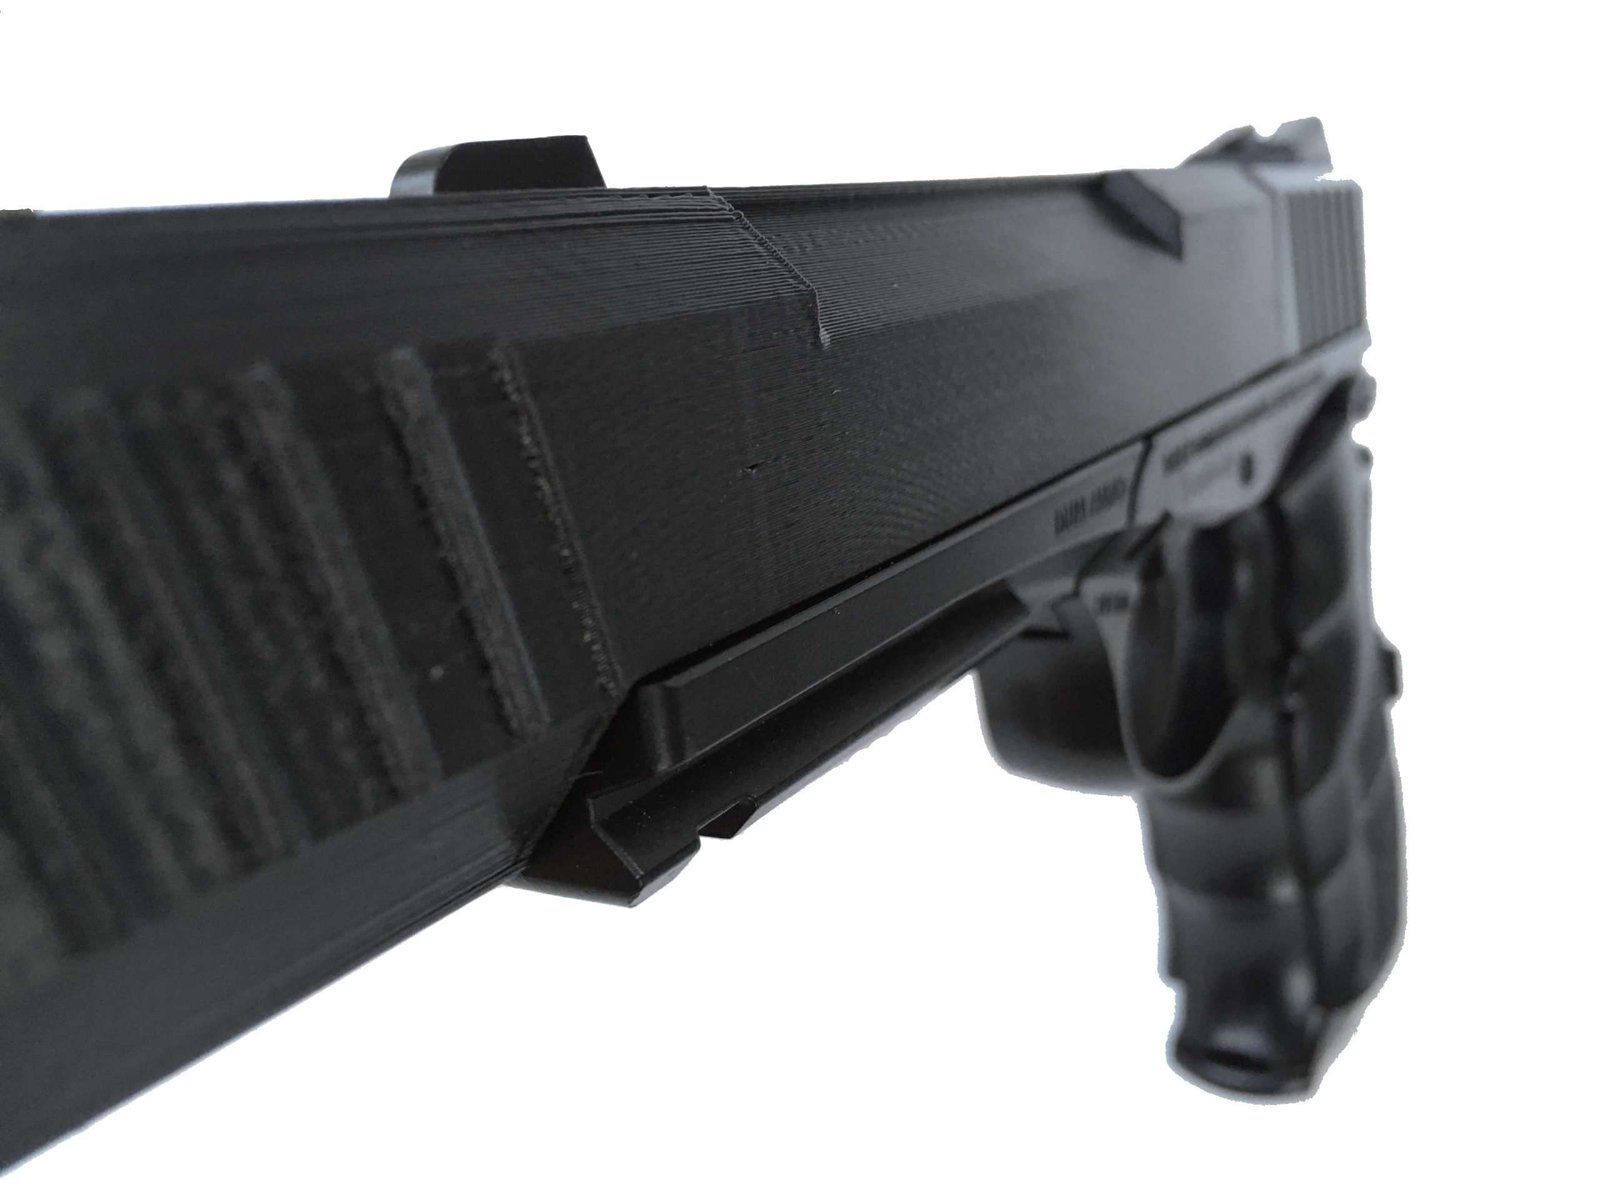
The Forearm

The improved forearm is longer, wider, and taller. It feels better in the hand and looks less like a sausage than the stock forearm. I’ve also added a picatinny style rail for a bipod, laser, flashlight, etc. It will come with a longer countersunk screw to replace the shorty that secured the stock sausage… I mean, forearm.
The Pistol Grip

The stock pistol grip isn’t terrible, but it definitely had room for improvement. I’ve made the new grip more ergonomic. It will install using the same screw that secured the stock pistol grip.
I’m trying to get plenty of them printed before I list them, but expect these to be available very soon! Thanks for lookin! -Terry