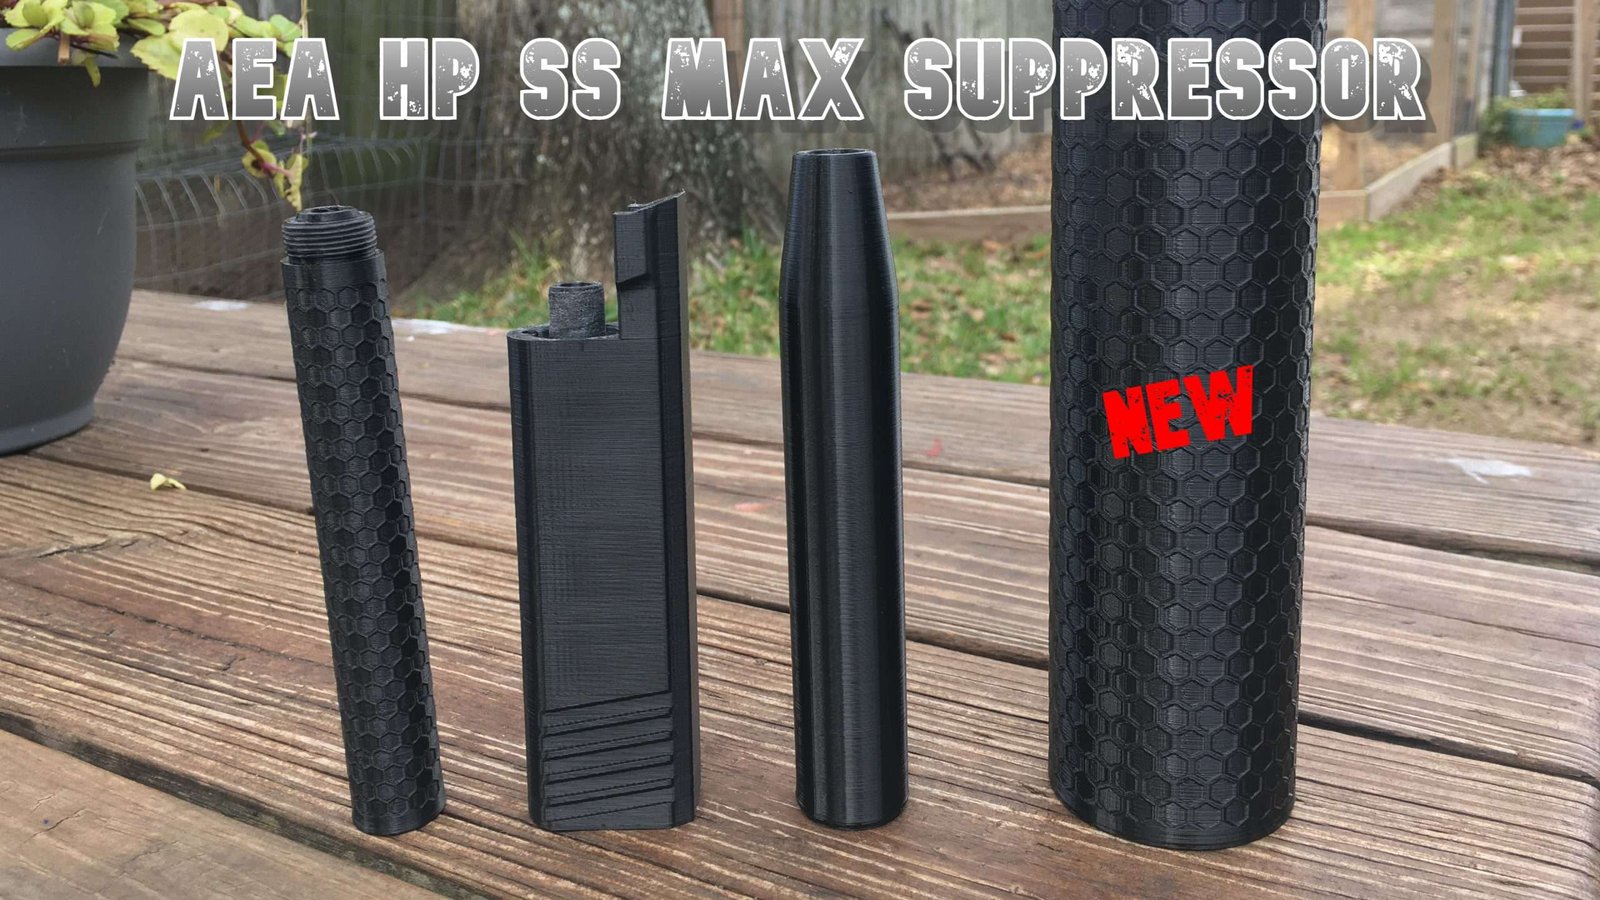
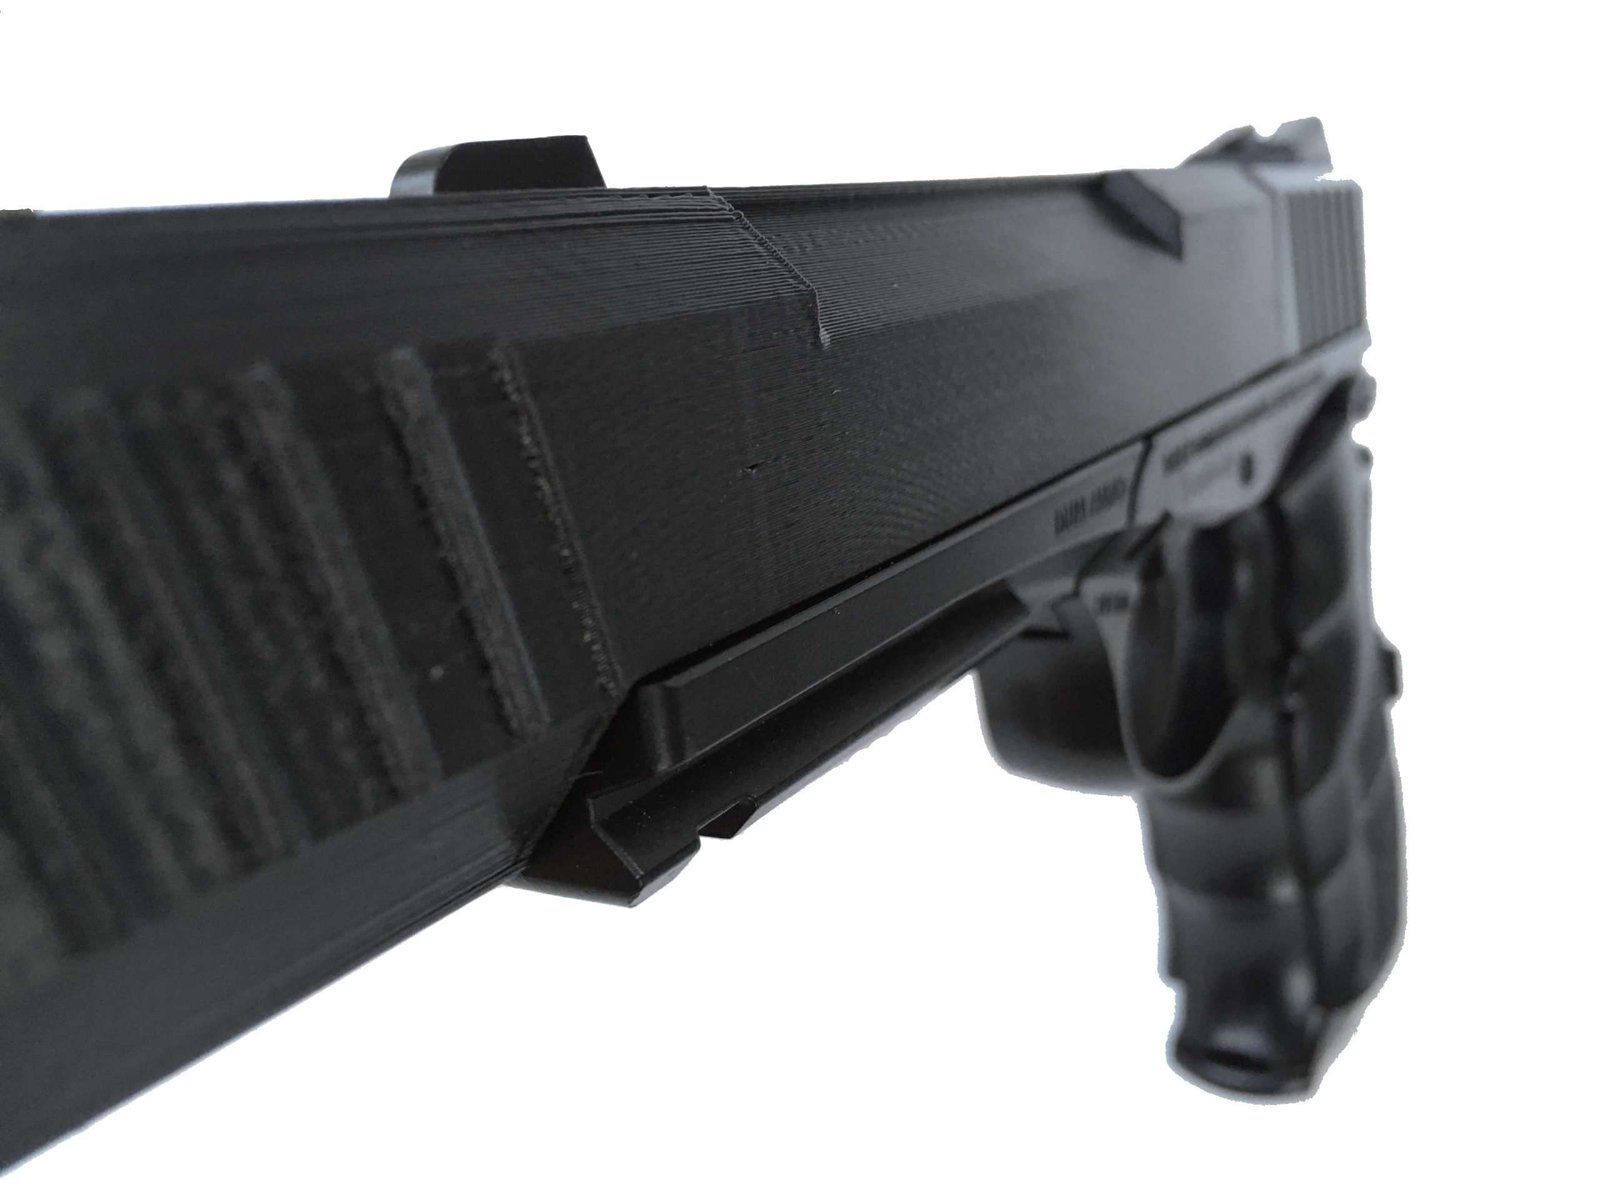
I’ve only recently found out about AEA airguns. This is my first big bore so I don’t know how it stacks up against others, but I’m certainly impressed and looking forward to getting some accessories out for it. I’m working on a suppressor for the .35 caliber and a tri-rail/band that clamps onto the reservoir. I started out with a suppressor that is close to the same size as our 1/2-20 UNF suppressor and quickly found out that it needs way more volume than that. What I’ve ended up with is a monster that takes 16 hours to print!
Update 7/8/2022: The suppressor works great, but takes too long to print and costs too much to make. I will not be selling it for now, but may revisit this at a later date.
Just dropped the Diana Airbug suppressors. They are much like our 2240 slip-on suppressors. 3d printed in polycarbonate. Available with or without the front sight post. (I know, I know! I’ll be adding the front sight post to the 2240 again this week!) Check them out here: https://buck-rail.com/product/diana-airbug-suppressor/
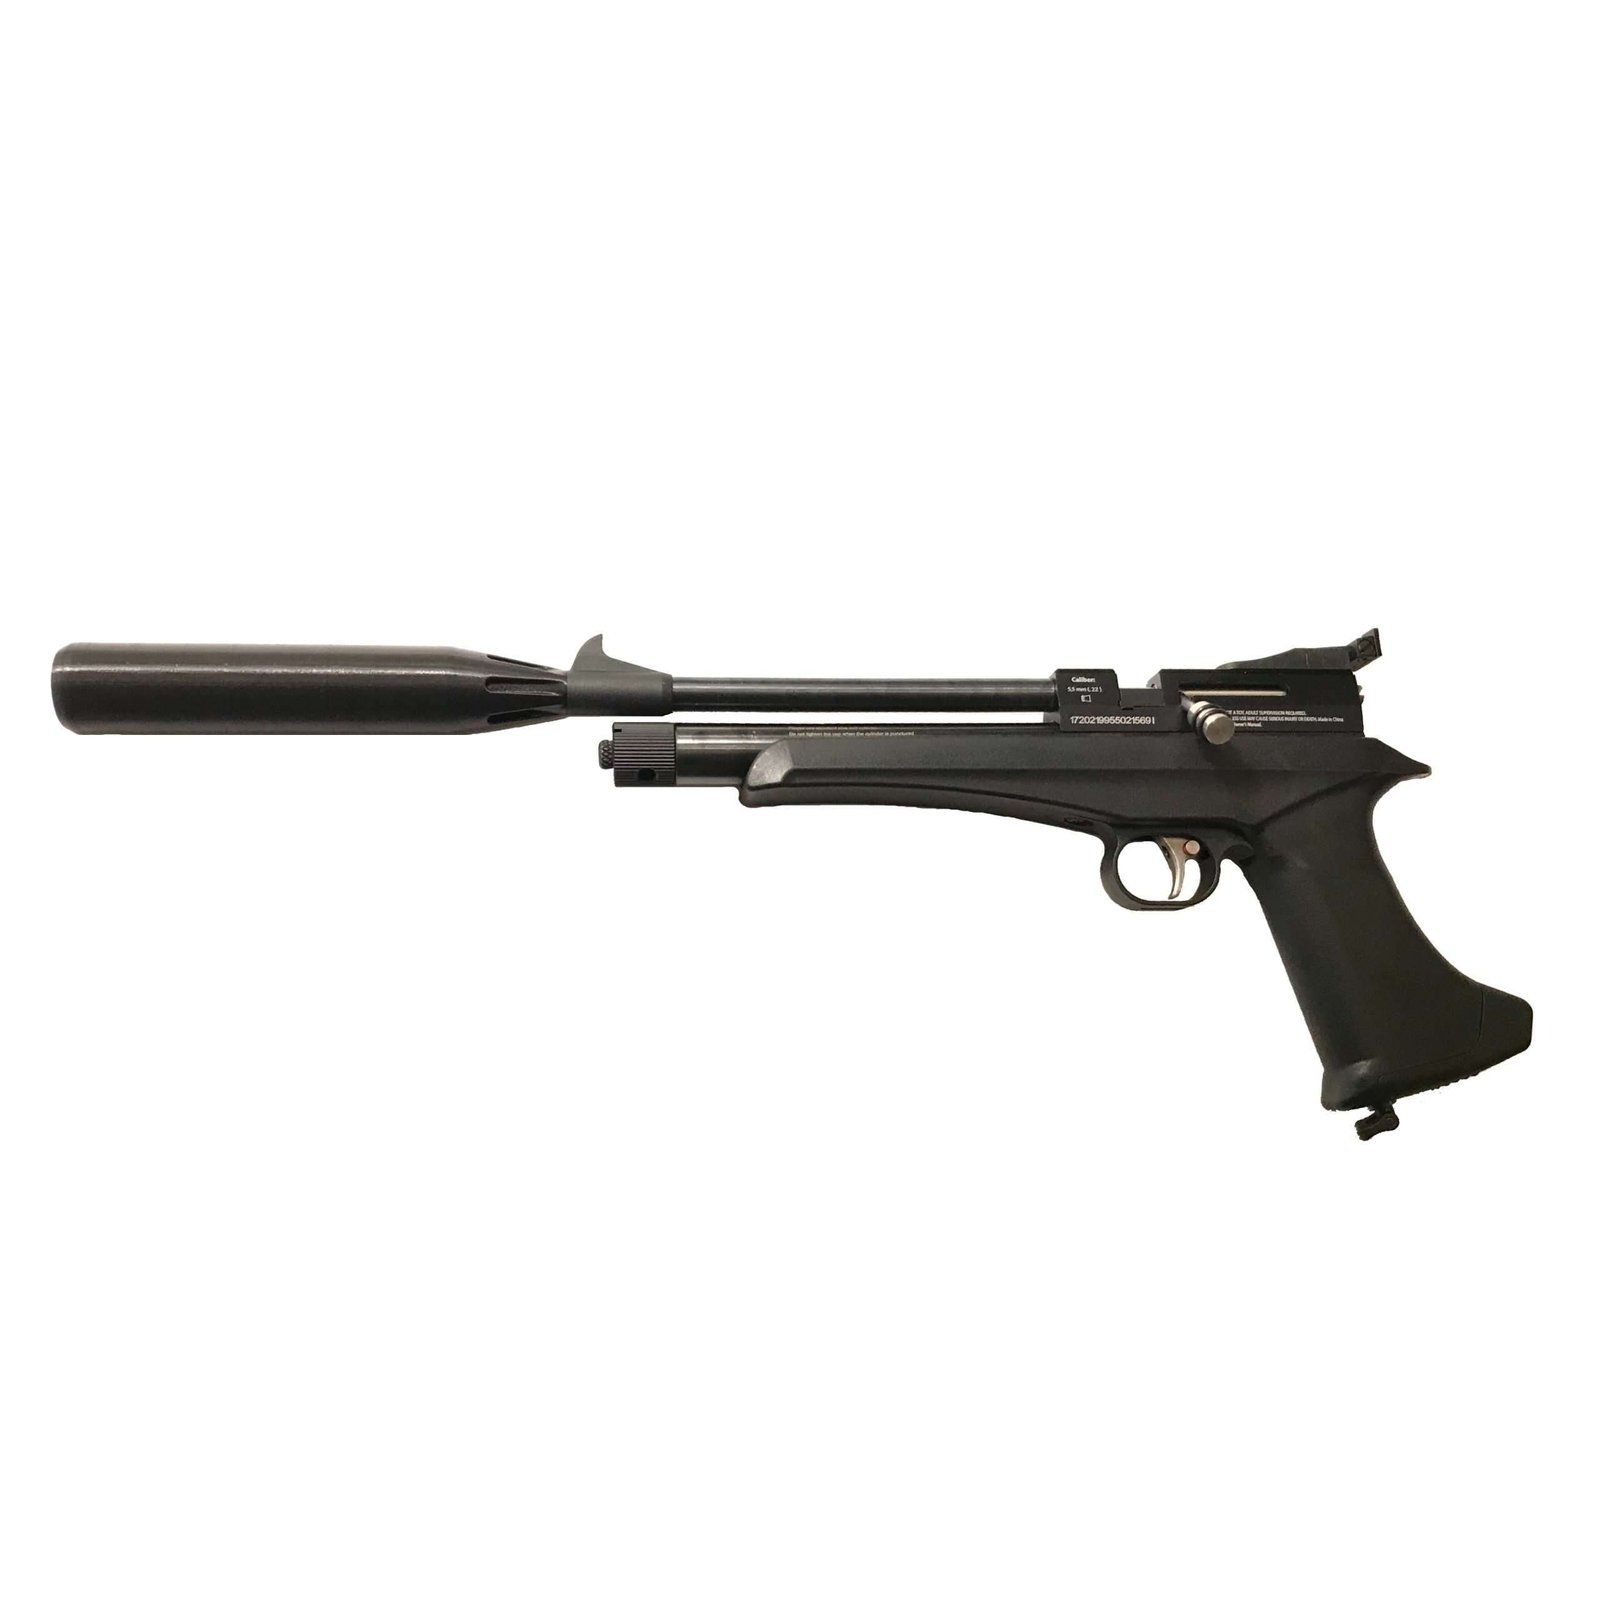
I have a lot of new parts to release, but I couldn’t wait anymore on this one. This silencer is printed in Polymax Polycarbonate plastic. It takes 8 hours to print just one, but we get a much tougher product in the end. Some things that I’ve done differently with this one is include an expansion chamber at the muzzle, reduced ID baffles nearer the muzzle, and incorporated a stainless steel helical insert for very reliable threading/unthreading. This makes the Diana Chaser Pistol neighbor-friendly without affecting accuracy or muzzle velocity. Here’s a look at the inside:
Diana Chaser Silencer Designed and Modelled on Autodesk Fusion360
In this video I install the silencer and test fire the Chaser with and without it. I just got a new mic, so this video actually ALMOST does it justice. Also, you may notice another part I have in the works for the Chaser.
UPDATE! The suppressors are for sale HERE. The Barrel Bands are for sale HERE.
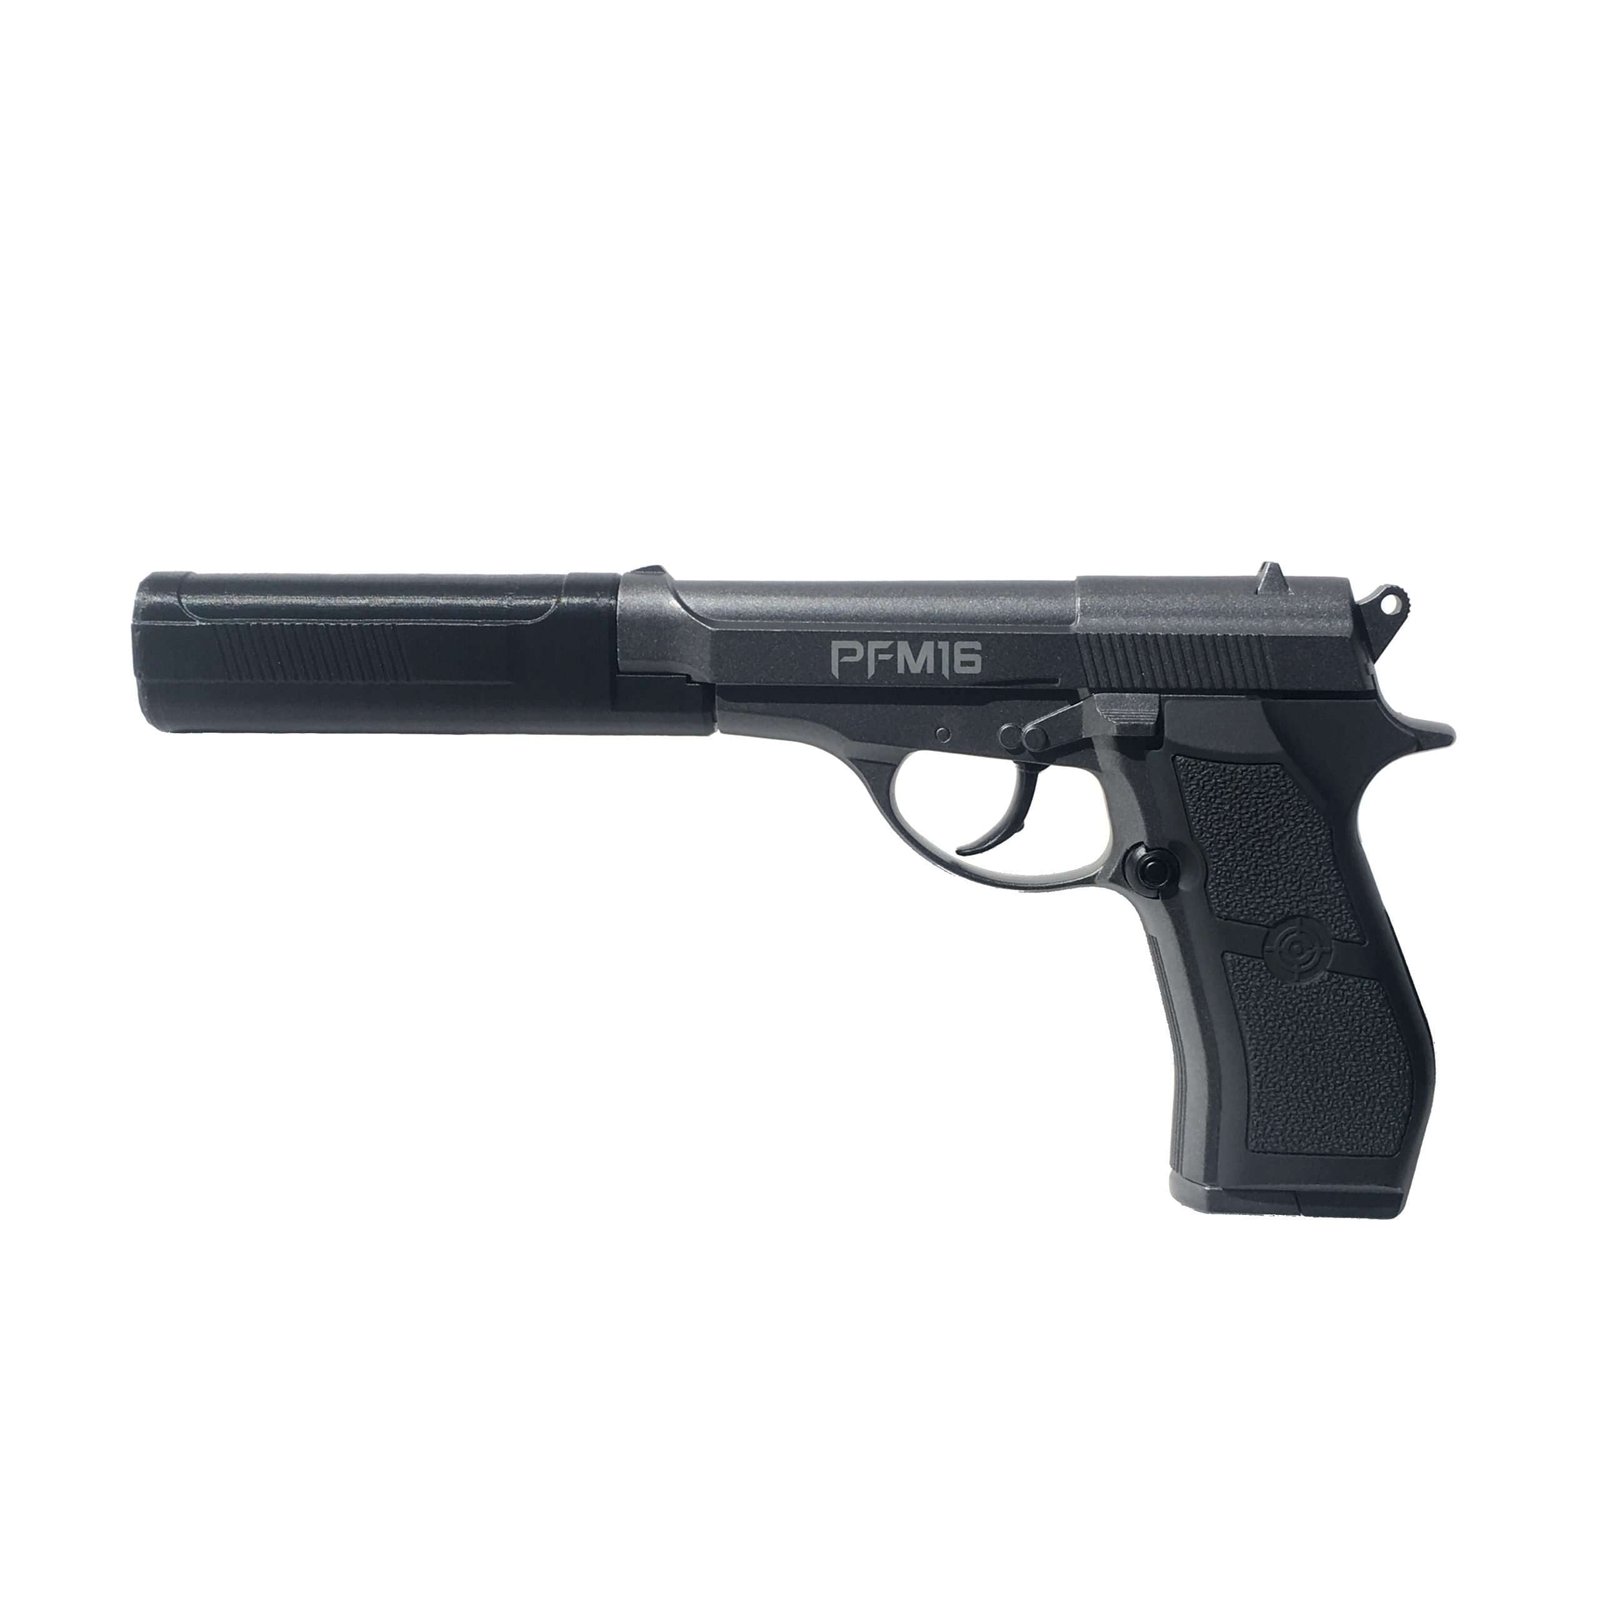
I’ve completed the design and testing of my latest Silencer for the Crosman PFM16. The Crosman PFM16 is a full metal CO2 powered Semi-Auto BB Pistol. It has a nice heft to it and a compact and sleek design. I tried to keep the design similarly compact and sleek with matching aesthetics.
3D Model Snapshot
Given that this silencer is so much more compact than our others I’m amazed at how affective it is. I’ve used a 60 degree cone-shaped 7 baffle design like in our Crosman 13XX, Daisy 415, and Daisy 426 silencers, but in a much smaller package. Even with the more compact design it is equally, if not more, affective than our others.
Section View Snapshot from 3D Model
I’ve also uploaded a little video to YouTube with installation details and a firing test. I use a pellet trap and iPhone for the video which isn’t super helpful for really hearing the sound difference. You can check out the reviews for the Daisy Powerline 415 Silencer to see what others have to say about our silencer design.
Just a quick update on my latest projects. I’ve wrapped up the Daisy Red Ryder scope mount design and have moved on to the Crosman 2240. I have received a few requests to make a Suppressor for the Crosman DPMS SBR Full-Auto. I finally got one and will be working on that soon. I’m also taking a look at the Crosman PFM16 and Umarex SA10.
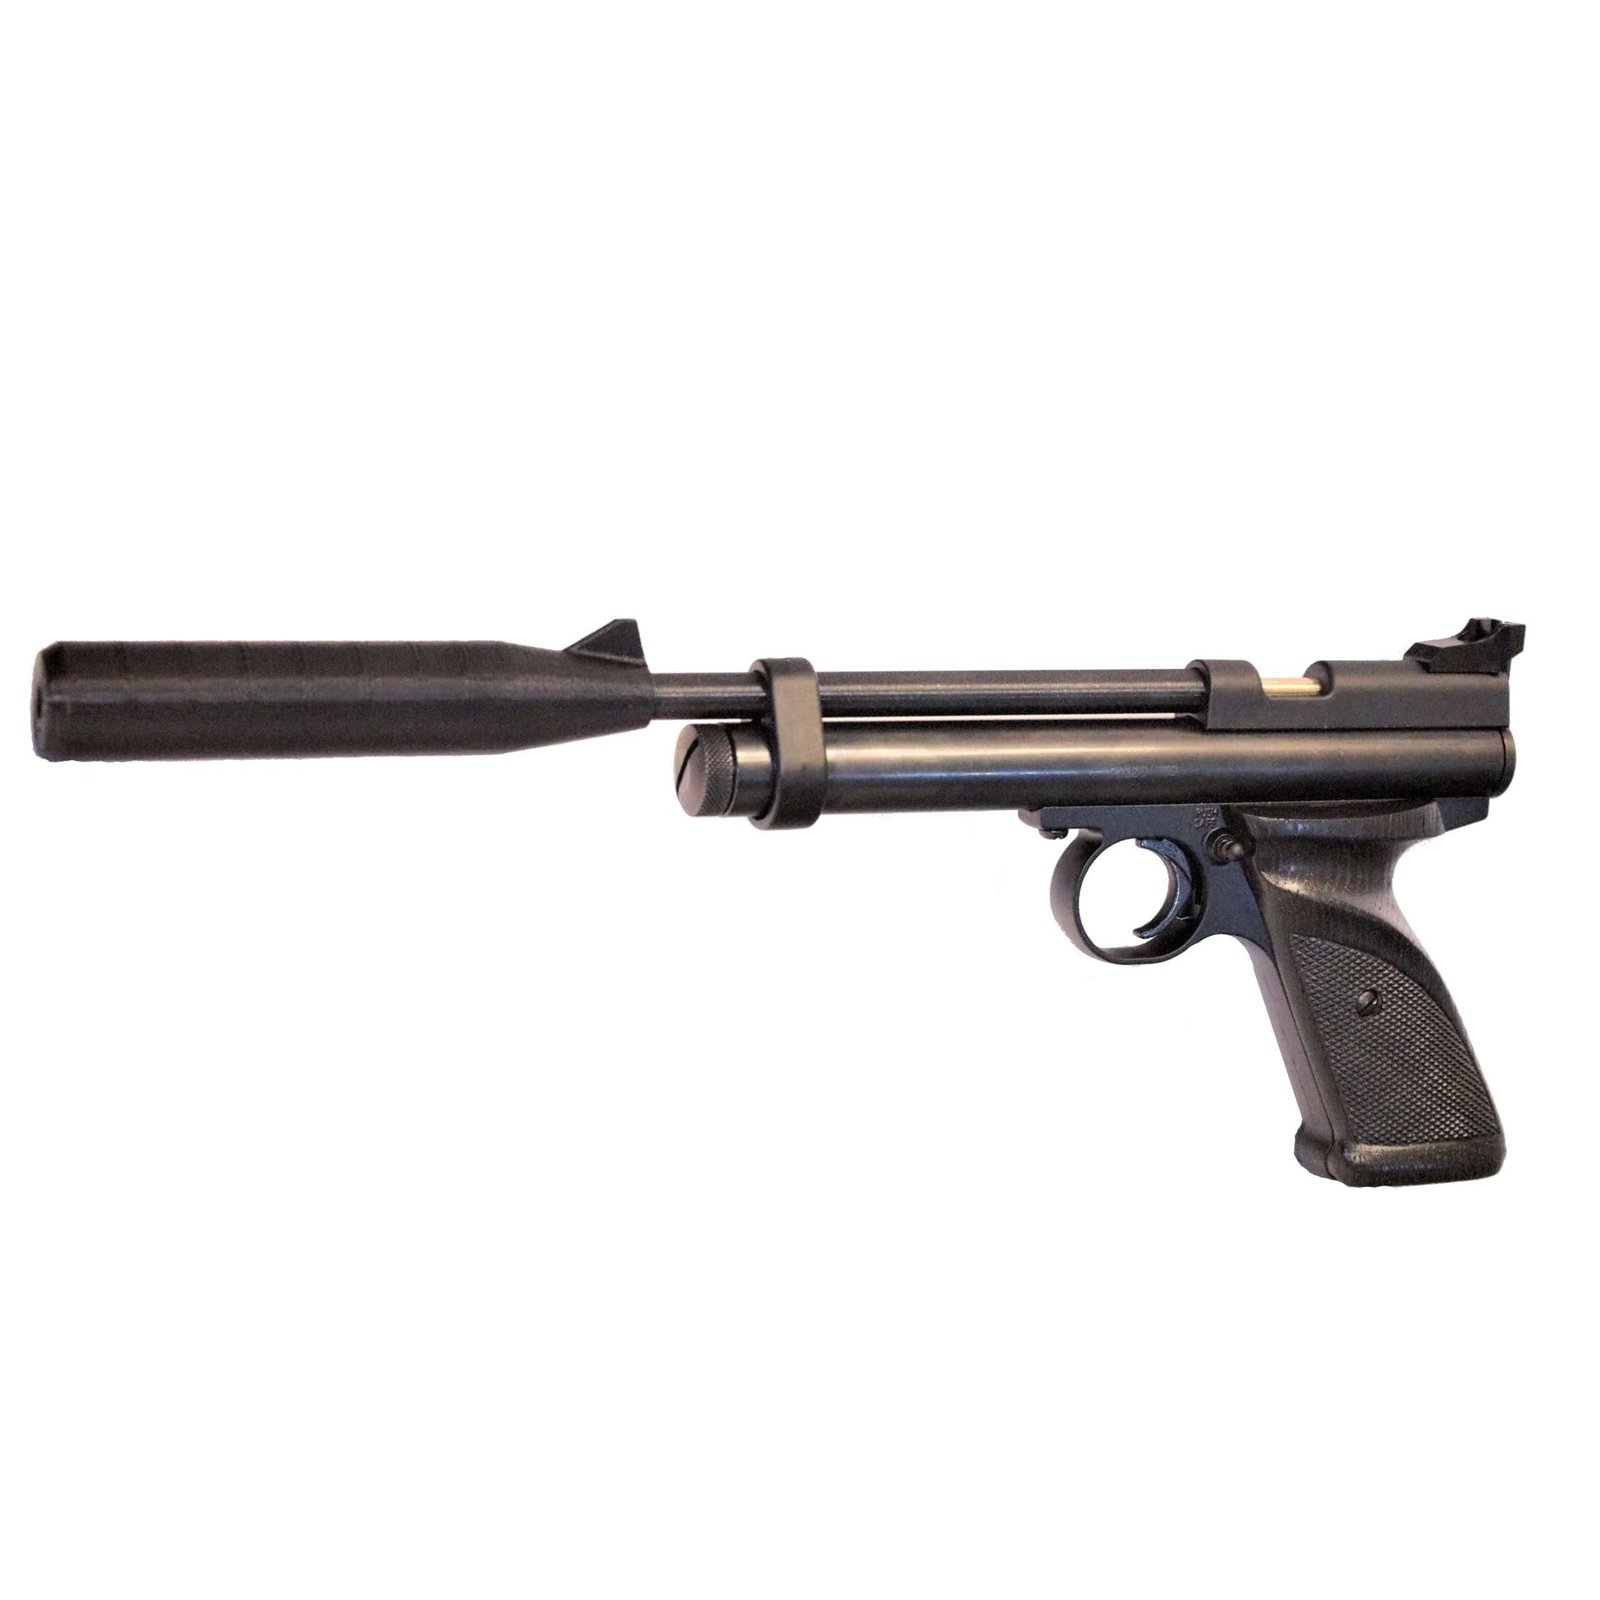
The 2240 Suppressor is very simple. It requires you to remove the stock front sight by just tapping it off with a hammer and piece of wood. Then you just press the suppressor on by hand with the front sight aligned. The only unique feature is the integrated front sight post. It is very similar to the 1322 Silencer on the inside in that it is round and has cone-shaped baffles.
The 2240 barrel has a flat ground on it that I used as an alignment feature for the front sight. I’m currently testing the Suppressor with various front sight post heights. I’m thinking that I might make it a bit on the high side. That way, it’ll cover close range shooting(if that’s your thing), but it could also be sanded down for longer range shooting. A benefit of the common ABS plastic blend used in 3D printing is that it dissolves in acetone. You can sand down the front sight post and use a paintbrush to coat the abraded surface with acetone to give it a smooth finish.
The Crosman Scope Mounts have really proven to be a hit. I didn’t imagine that they would be so popular. I’m grateful for all the feedback. The mounts are self-aligning on the 13XX and on the 2240. Check out the Crosman 2240 with the Suppressor, Scope Mounts, and Hawkeye Reflex Sight mounted below:
It may not look like it, but the cap and CO2 cartridge can be removed without removing the suppressor.
I received a request a while back to make a Silencer for the Daisy Powerline 408. I went out and bought one to have a look and see what I can do. I messed with it here and there for a while and finally came up with something I feel good about. I replaced the whole stock plastic part covering the barrel with a 3d printed one with a built-in suppressor and optics mount. I also was able to keep the front sight post if you prefer to shoot with open sights.
I started out by measuring and modelling the stock shroud. As you can see in the picture below there was a lot of features to get right. I lucked up and didn’t have to spend a lot of time optimizing it for 3d printing. I printed the shroud and installed all the guts without issue. Next, I added a printable silencer to the end and tested it out. If you’d like to check that out you can see it on YouTube HERE or look at my previous blog post.
I really like the 408. It’s nice to shoot pellets with a rifled barrel and CO2. Considering the decent accuracy you can get I though it might be nice to add an optics mount as well. My first few attempts were not great. The optics would clamp on the sharp edge of the dovetail rather than the grooves under the sharp edges. It would clamp really well, but deform the sharp plastic edges. Also, it was a challenge to make it look sleek and like it belonged on the gun. I eventually found a way to make the 3d printed dovetail functional and look like it belongs there. See below:
Finally, I added some of the little cosmetic details to tie it all together and printed the final prototype.
Final prototype 3d printed with ABS plastic.
These things take a long time to print(8hrs/piece) on an FDM printer at .2mm layers and would be pretty costly for a 3d printed part. I most likely will have them printed in PA12 Nylon by an American company given that the cost is comparable if done in bulk. Nylon is extremely tough and the SLS(Selective Laser Sintering) process leaves a very smooth finish. Here’s a little preview of a prototype that I’ve had printed in Nylon using SLS. When I finally put these up for sale they will have a similar finish.
Hopefully I’ll have them ready for early to mid-November. Thanks for reading!
DAISY POWERLINE 408 SILENCER INSTALLATION AND TEST
In this video I show some quick details about the Daisy Powerline 408 Silencer, how it is installed, and do a firing test. It’s fairly brief and to the point. This is only a prototype and not what the final product will look like. Just a sort of progress report I guess… Thanks for watchin’
I’ve had a few requests for a silencer for the Daisy Powerline 426. It’s been a lot of work, but I’ve finally got something that will work without making alterations to the gun itself.
The biggest challenge to overcome is that it needed to somehow mount on the gun without damaging it. The Powerline 415 Silencer presses into the plastic barrel shroud, but there is too little space to do that in the 426. My first idea was to make little nubs that clutch the outside of the shroud. See below.
The first attempt at a gripping adapter
The adpater DID grip the gun, but it wasn’t secure enough. The next idea was to use the under barrel accessory rail along with the gripping nubs.
The first try at a 426 Silencer
The silencer worked and looked really cool and sleek, but I knew a lot of people would be disappointed that they couldn’t mount a laser as well. The next idea was to use the under-barrel accessory rail, and use the silencer as a base for a laser instead.
The finished Silencer Installed on the Daisy Powerline 426
This silencer has been updated quite a bit since this post. You can download the latest 3d print file HERE