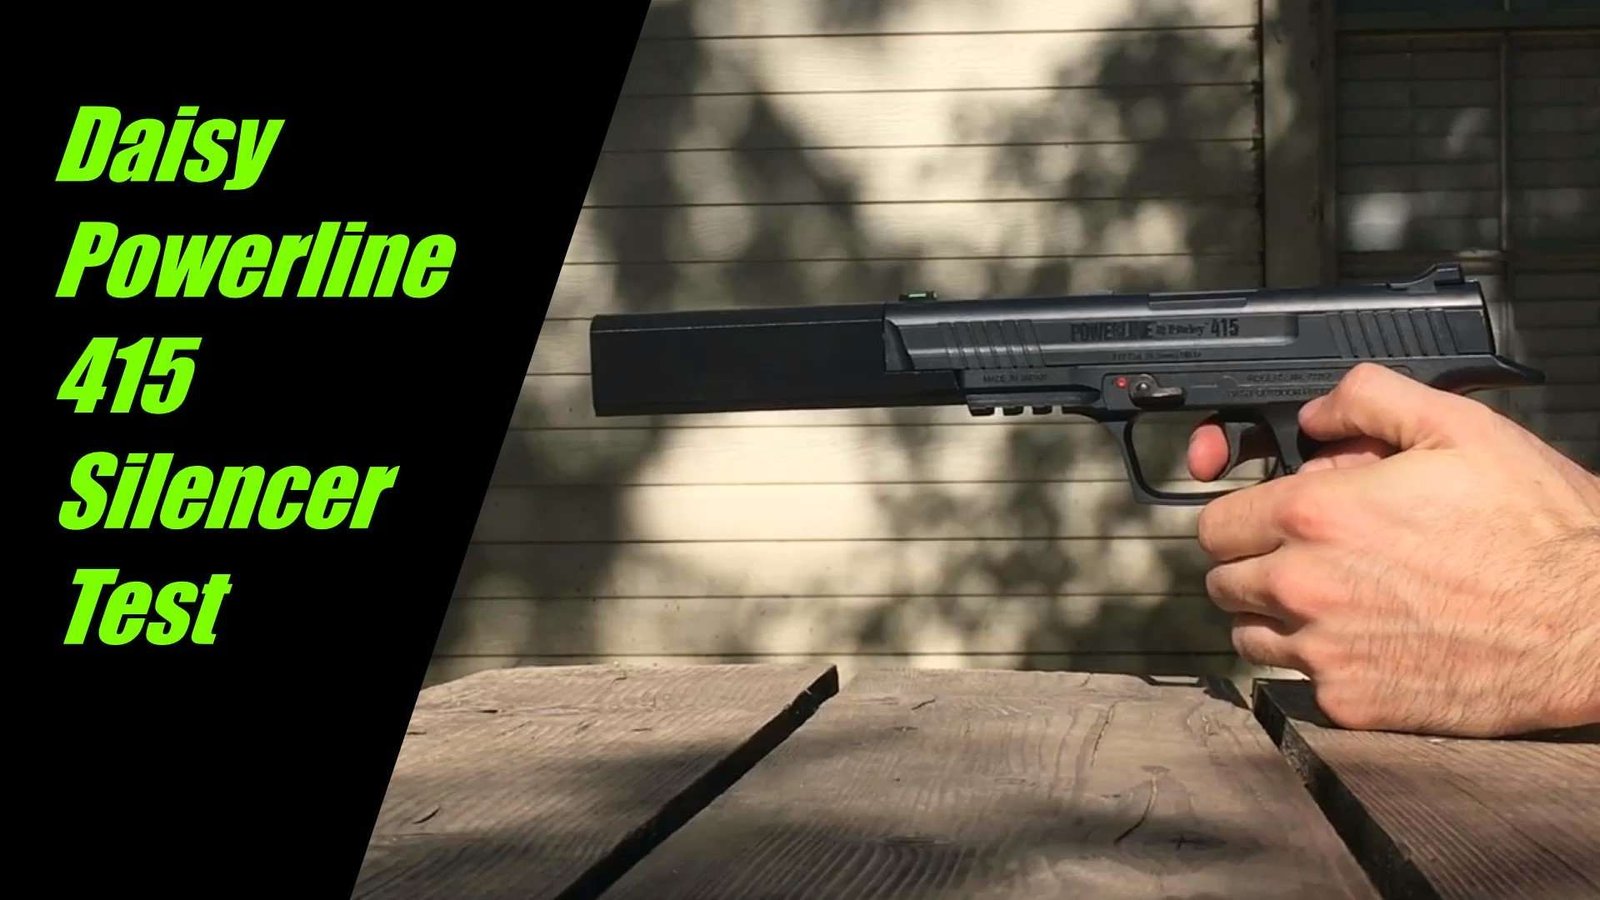
Daisy Powerline 408 Silencer Design
I received a request a while back to make a Silencer for the Daisy Powerline 408. I went out and bought one to have a look and see what I can do. I messed with it here and there for a while and finally came up with something I feel good about. I replaced the whole stock plastic part covering the barrel with a 3d printed one with a built-in suppressor and optics mount. I also was able to keep the front sight post if you prefer to shoot with open sights.
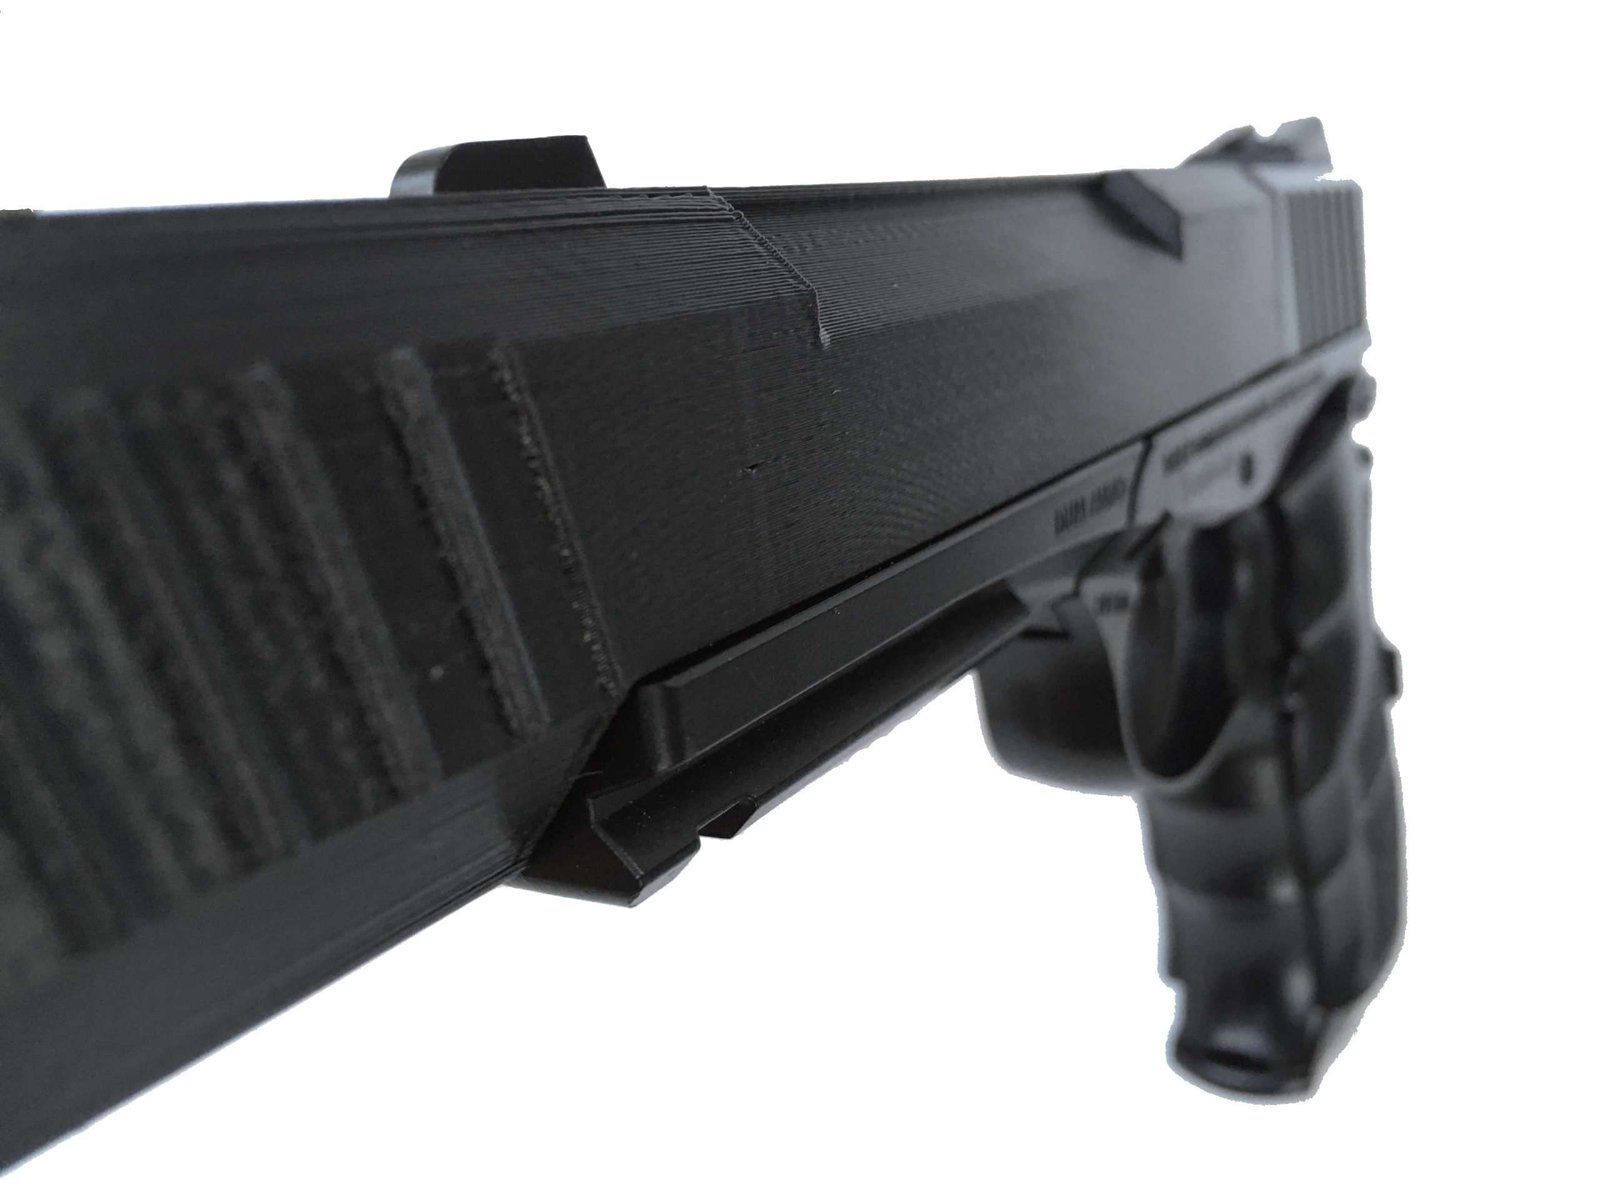
I started out by measuring and modelling the stock shroud. As you can see in the picture below there was a lot of features to get right. I lucked up and didn’t have to spend a lot of time optimizing it for 3d printing. I printed the shroud and installed all the guts without issue. Next, I added a printable silencer to the end and tested it out. If you’d like to check that out you can see it on YouTube HERE or look at my previous blog post.

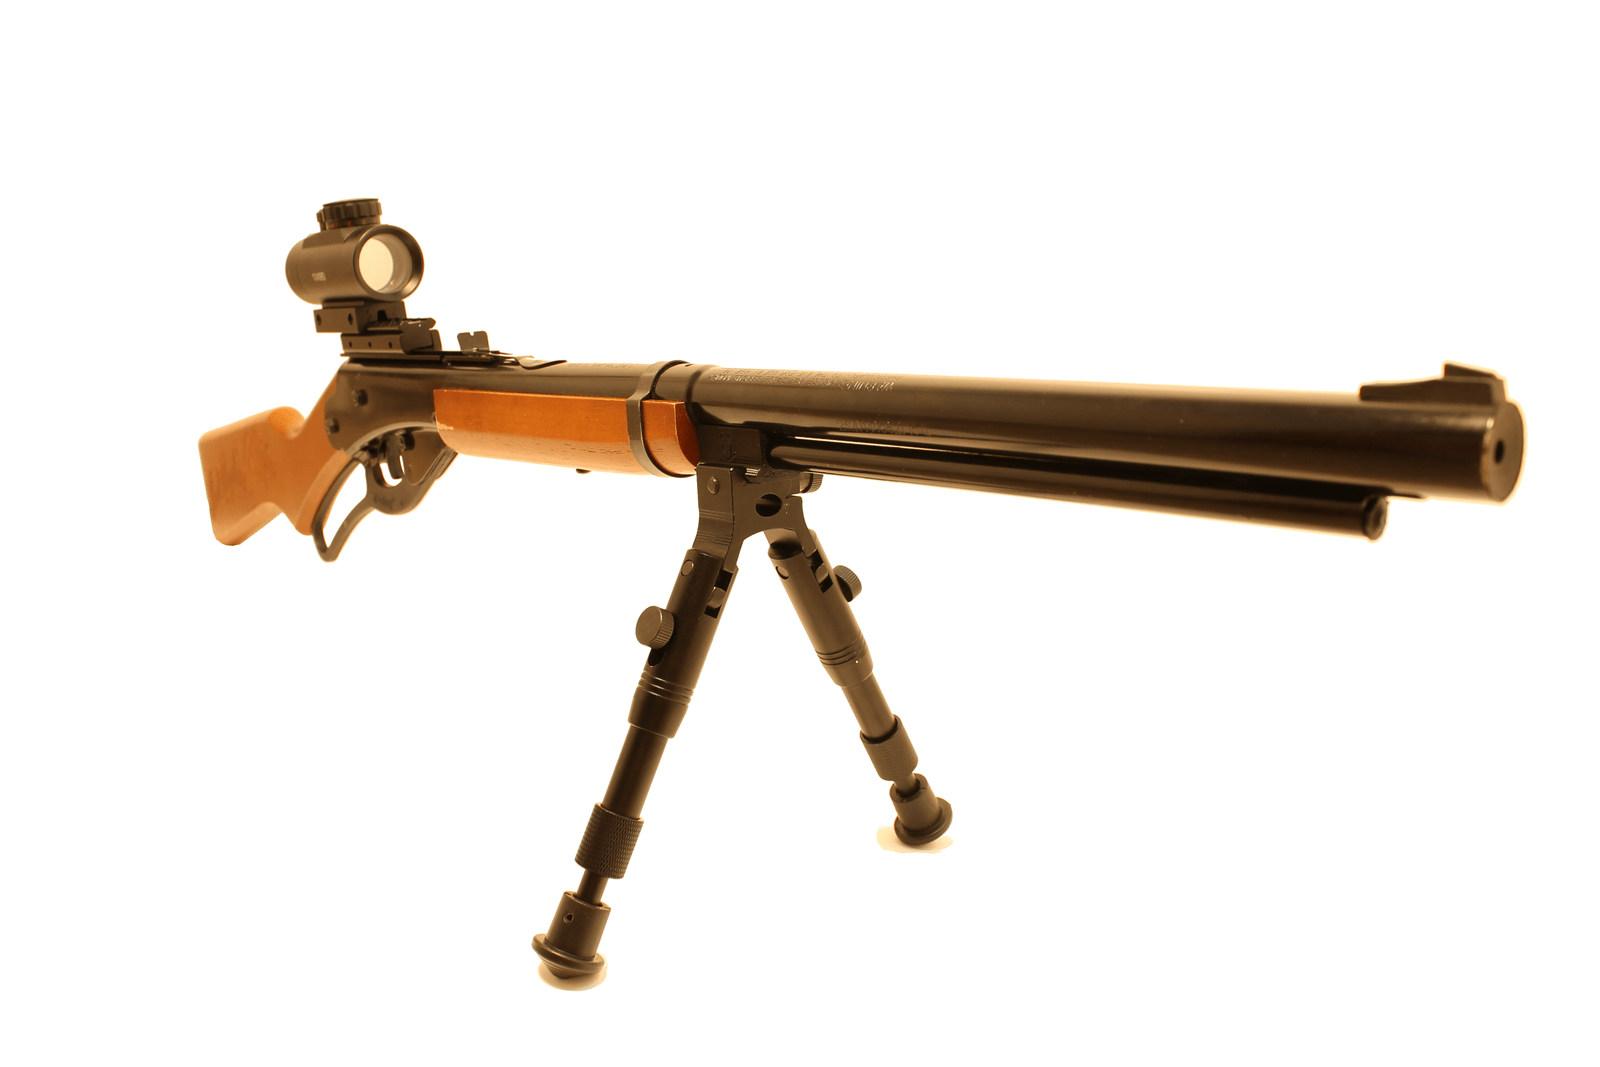
I really like the 408. It’s nice to shoot pellets with a rifled barrel and CO2. Considering the decent accuracy you can get I though it might be nice to add an optics mount as well. My first few attempts were not great. The optics would clamp on the sharp edge of the dovetail rather than the grooves under the sharp edges. It would clamp really well, but deform the sharp plastic edges. Also, it was a challenge to make it look sleek and like it belonged on the gun. I eventually found a way to make the 3d printed dovetail functional and look like it belongs there. See below:

Finally, I added some of the little cosmetic details to tie it all together and printed the final prototype.

These things take a long time to print(8hrs/piece) on an FDM printer at .2mm layers and would be pretty costly for a 3d printed part. I most likely will have them printed in PA12 Nylon by an American company given that the cost is comparable if done in bulk. Nylon is extremely tough and the SLS(Selective Laser Sintering) process leaves a very smooth finish. Here’s a little preview of a prototype that I’ve had printed in Nylon using SLS. When I finally put these up for sale they will have a similar finish.

Hopefully I’ll have them ready for early to mid-November. Thanks for reading!