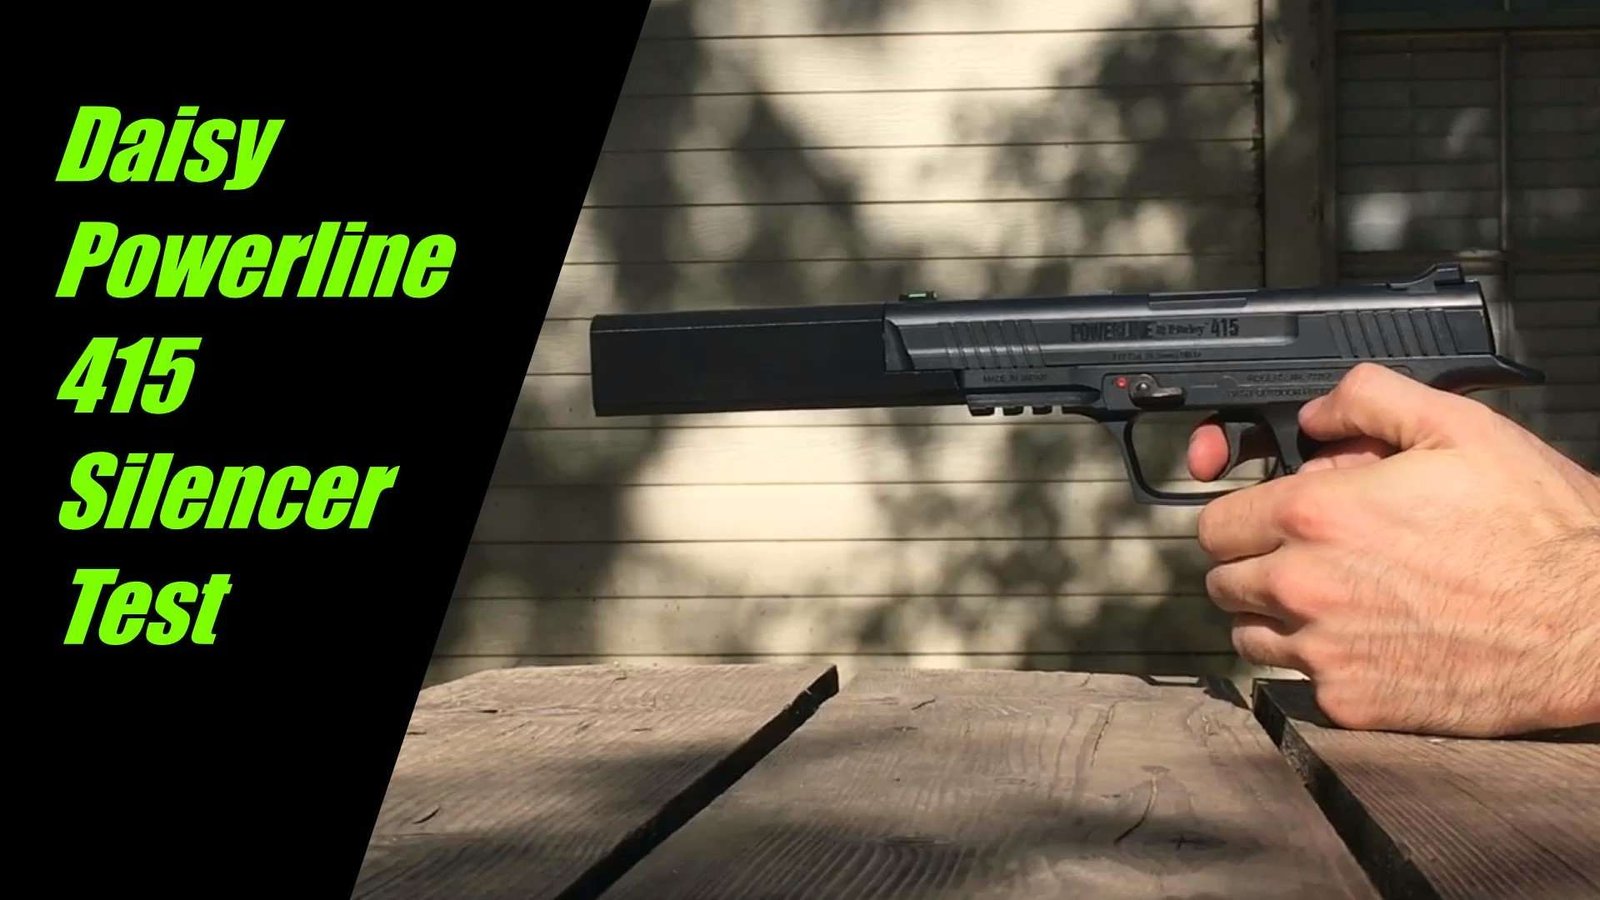
This is just a short video showing the sound difference without and with the 3D printed silencer on the Daisy Powerline 415 CO2 Pistol. I’m shooting Daisy Precision Max Steel BBs. This video really doesn’t do it justice, but you can certainly hear the difference. I shot at an archery target to take down some of the secondary noises.
3d Printed Silencer Inspired by the SilencerCo Osprey
My son just bought his first CO2 BB Pistol. I started him out with the Daisy Powerline 415 for ease of use… and low cost of course. He’s 10 and scrawny like me so I wanted to make sure it was easy for him to load and shoot. He read the manual(because I made him) and we set it up. It was getting dark outside, but I wasn’t going to let him go to bed without at least firing a couple of rounds. He fired the pistol and the sound really reverberated and got the neighborhood dogs barking. So my mind went straight to engineering mode, “we gotta make a silencer for this little thing.” So that’s what we did and it works great. I need to get my hands on a decibel meter, or perhaps get someone who has one to test it(anyone, heh? heh?) but until then you’ll have to just listen to the test video in Part 2.
Side Note: Is that trigger pull long, or what?! I always emphasize the importance of not yanking on the trigger, but it really takes some getting used to have such a long pull. He kept thinking that the gun wasn’t working right. Slowly pulling and pulling and pulling… “Dad, is the safety on?”
The Outsides
3D Printed Powerline 415 Silencer
SilencerCO Osprey
As you can see, in the above pictures, the design was inspired by the SilencerCO Osprey. I like that they match the profile of the pistol, so I went with the same look on the outside. I did a little research on the baffles of different silencers and decided to go with the cone type, rather than what is inside the osprey only because that seems to be tried and true and works well for 3D printing.
The Insides
In the picture below you can see the inside of the Osprey. That’s purrrdy.
SilencerCO’s Osprey Cutaway
In the picture below you can see my crappy cutaway. I chose 60 degree cone-like baffles, so they could print without any support. This would be impossible to injection mold in one piece.
My Really Junky Cutaway Sample(I blame the bandsaw)
To mount the silencer you just slide it in and it snaps in snuggly. I fired about 100 rounds without issue. It REALLY cuts down on the noise and doesn’t affect the accuracy a bit. By accuracy, I mean the standard random 4-5″ 10 yard grouping. My son loves the way it looks and I’m happy he can shoot in our backyard without concerning our neighbors now. I’ll probably add to the aesthetics a bit later and post the files to 3D print it. In part 2 I’ll post a video of the shooting test so you can hear the sound difference, so stay tuned.